StackAI Academy #1 - Platform Overview
Apr 15, 2025

Bernard Aceituno
Co-Founder at Stack AI

We want all of our customers to build AI agents with confidence, and that’s why we’re launching our new educational series: Stack AI Academy.
Stack AI Academy lays the foundation for success with Stack AI, with courses designed to teach our customers how to use the platform in a step-by-step fashion.
Welcome to Stack AI Academy - Course #1 - Platform Overview. In this course, we’ll show you the basics of the Stack AI platform, including how to:
Create & publish AI agents
Manage connections to data sources & APIs
View usage & analytics
Manage projects & teams.
These are all topics that we’ll cover later in the coursework in more depth. But this first course will give an introduction to each topic.
Launching the Workflow Builder
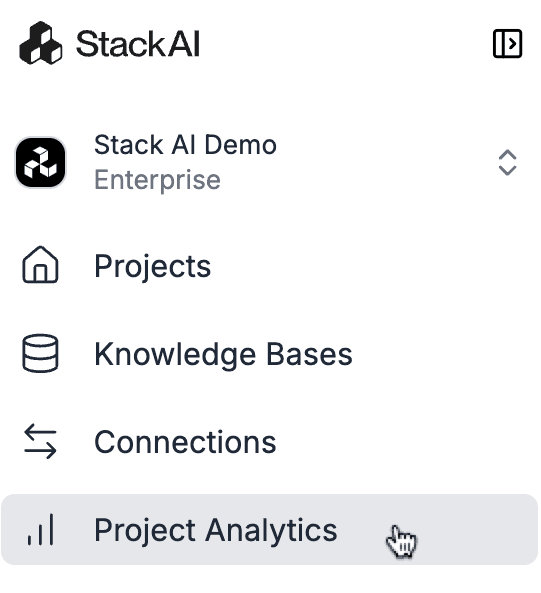
Let’s start from the Stack AI dashboard. On the lefthand panel, you’ll see that there’s four options:

Choose Projects. Will come back to the other options later. If you already have projects, you’ll see them in each of the individual folders.
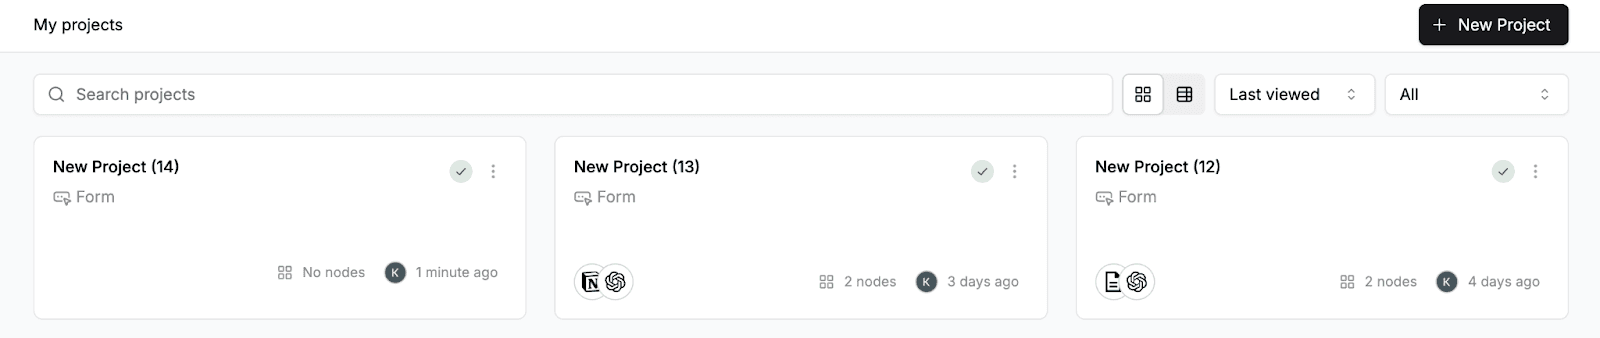
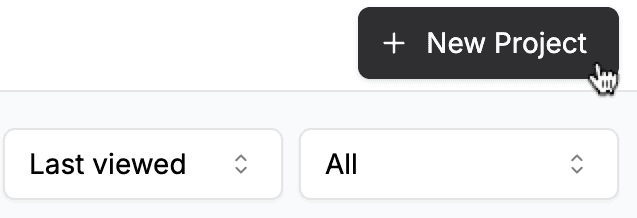
Click New Project to create a new project.
The Quick Start option allows you to launch a ChatGPT-type of AI agent instantly. Let’s take a look at the Workflow Builder.
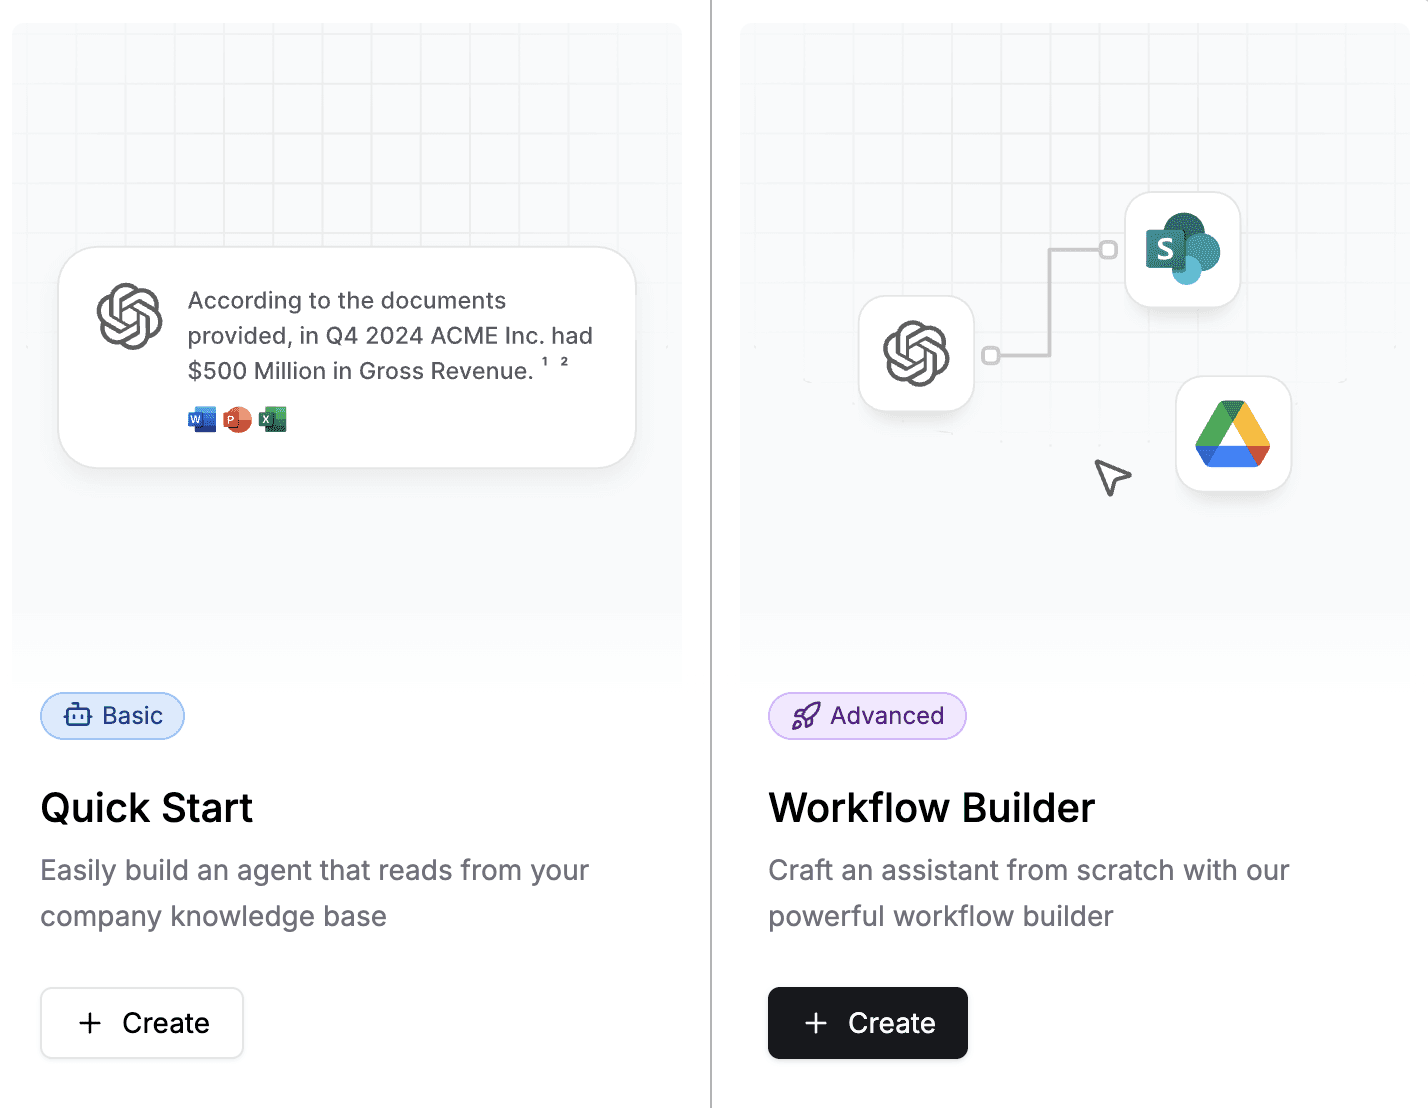
Click Create. This will take you to a template screen. Templates are pre-built AI agents that allow you to perform specific use cases right out of the box.

These templates include:
RFP Response Agent
Contract Analyzer
Investment Memo Generator
Support Desk Agent
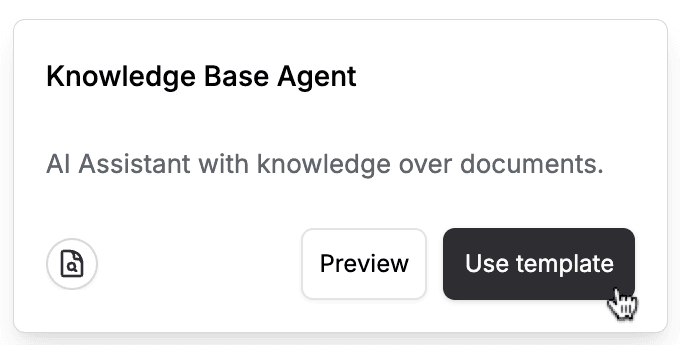
And much more. Choose the template called Knowledge Base Agent.
This takes you into the Workflow Builder canvas.
Workflow Builder: How to Use
The Workflow Builder allows you to drag-and-drop pre-built components, such as LLMs, data sources, apps, and more, to create a workflow for an AI agent.
The Workflow Builder has five main sections:
The Workflow Canvas
The Lefthand Panel
The Export Area
Analytics
Manager
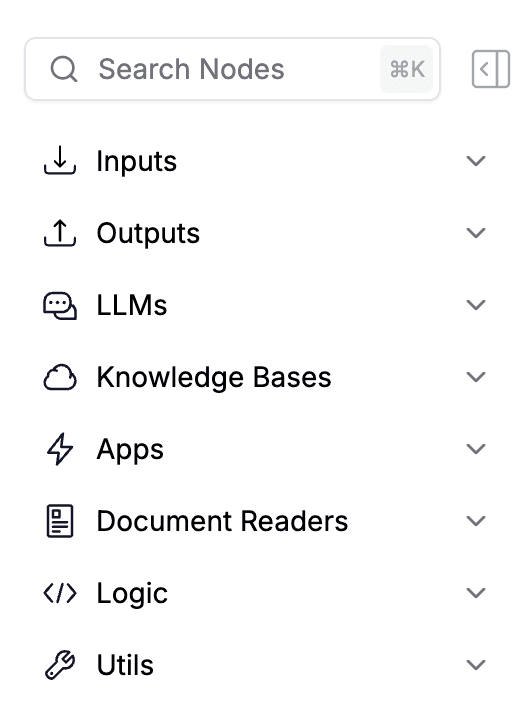
You can add nodes to the canvas using the lefthand sidebar, as seen below.
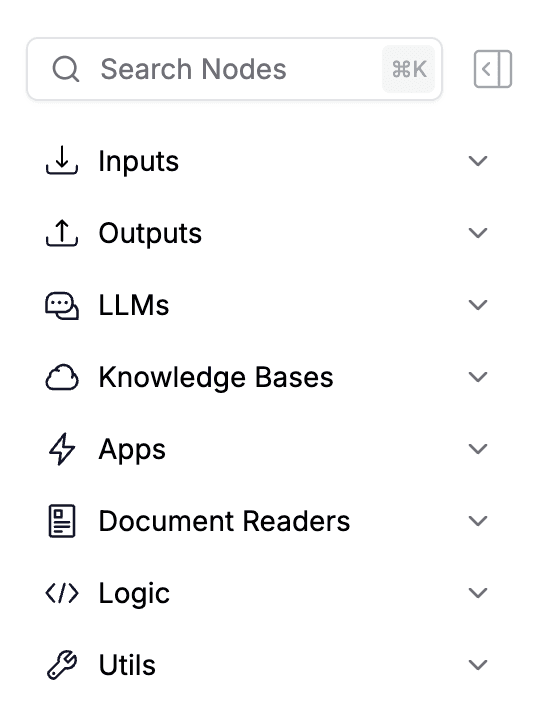
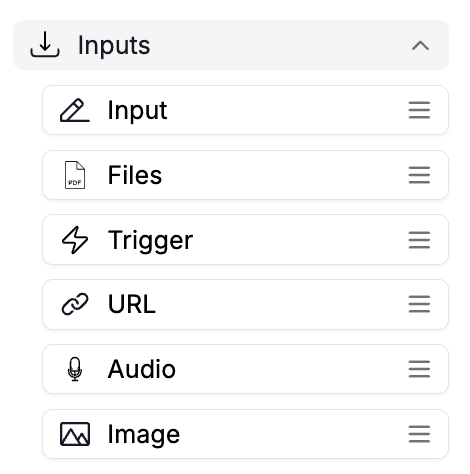
Let’s take a look at each category in the sidebar. Inputs allow you to get inputs from a user
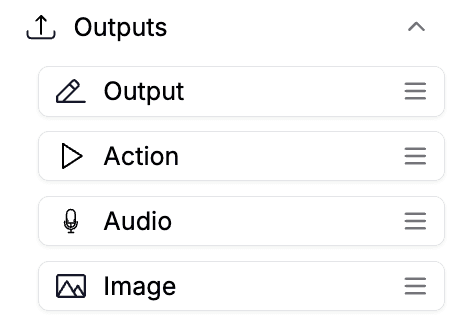
Outputs enable the workflow to display the results.
LLMs do the thinking and reasoning work in your AI agent. You can use LLMs from any leading provider.

Apps are applications that the workflow can interface with.

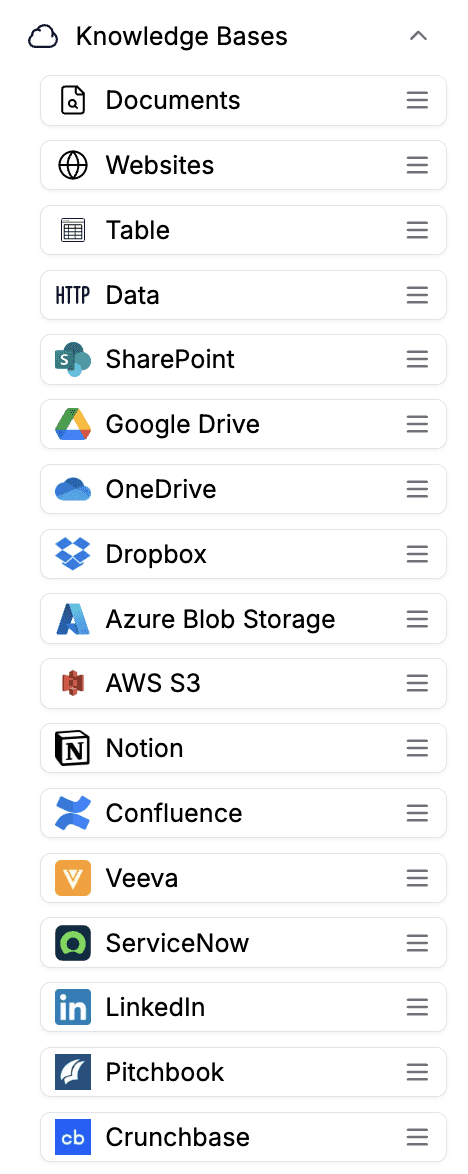
Knowledge Bases let you connect data from documents, storage drives, and more to the workflow.
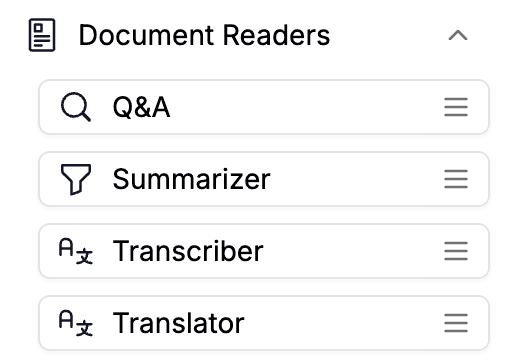
Document Readers summarize and transcribe information.
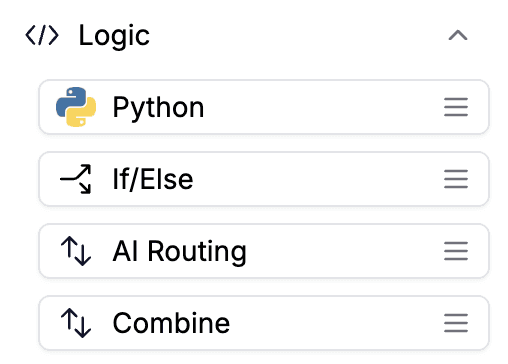
With Logic, you can add different logical flows into your app.
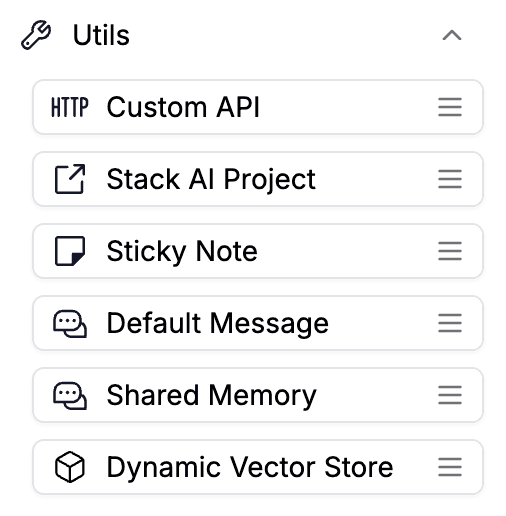
Finally, the Utility functions allow you to enhance and manage your workflow.
AI Agent: Knowledge Base Agent
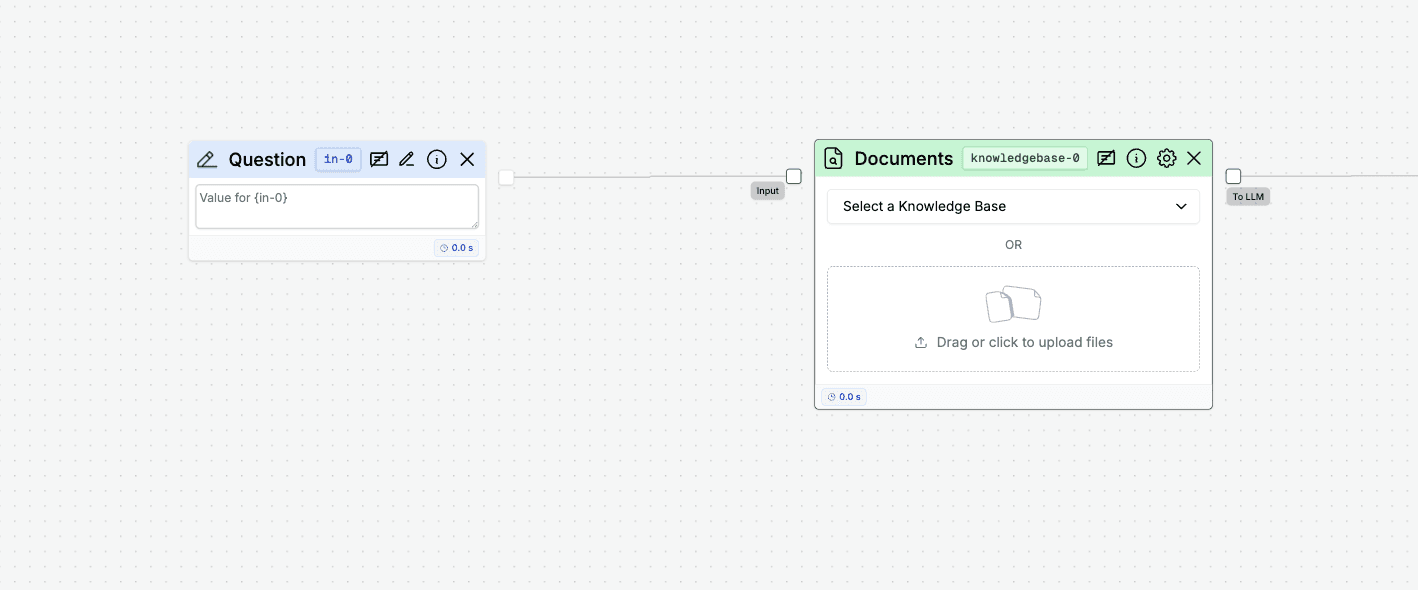
The workflow for the Knowledge Base Agent has four connected components, or nodes, that interact to form an AI agent.
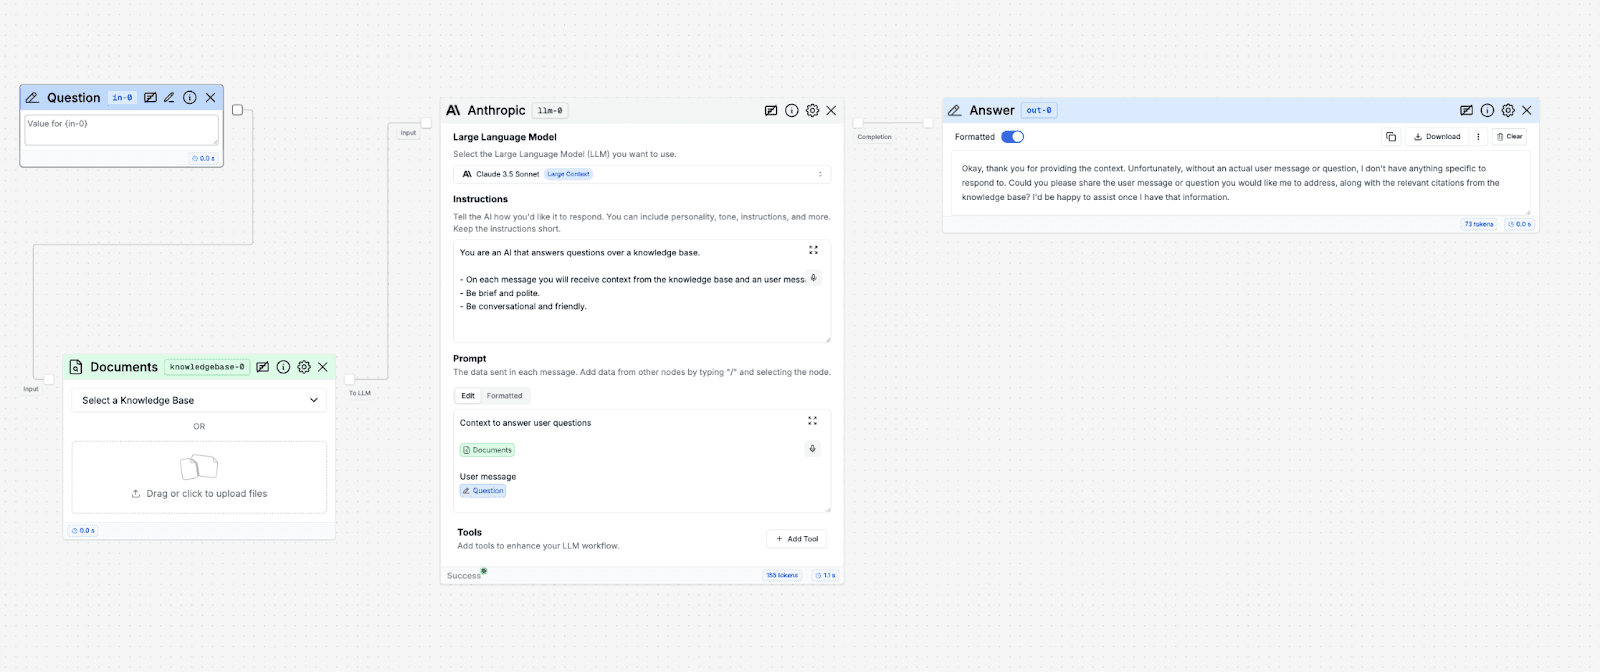
Each of these nodes corresponds to an option on the lefthand panel. You can drag these options onto the canvas. Here’s a rundown of each node and what it does:
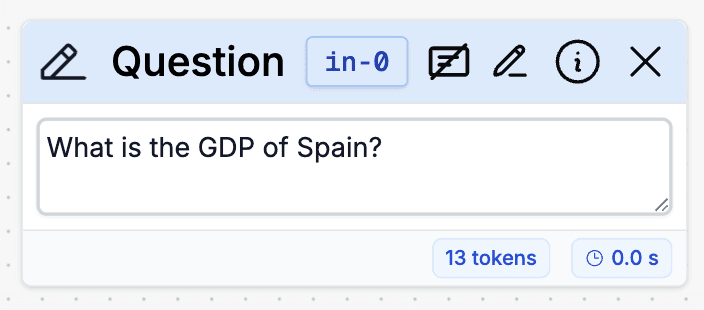
Question (Input: in-0) - The question that the user inputs into the workflow.
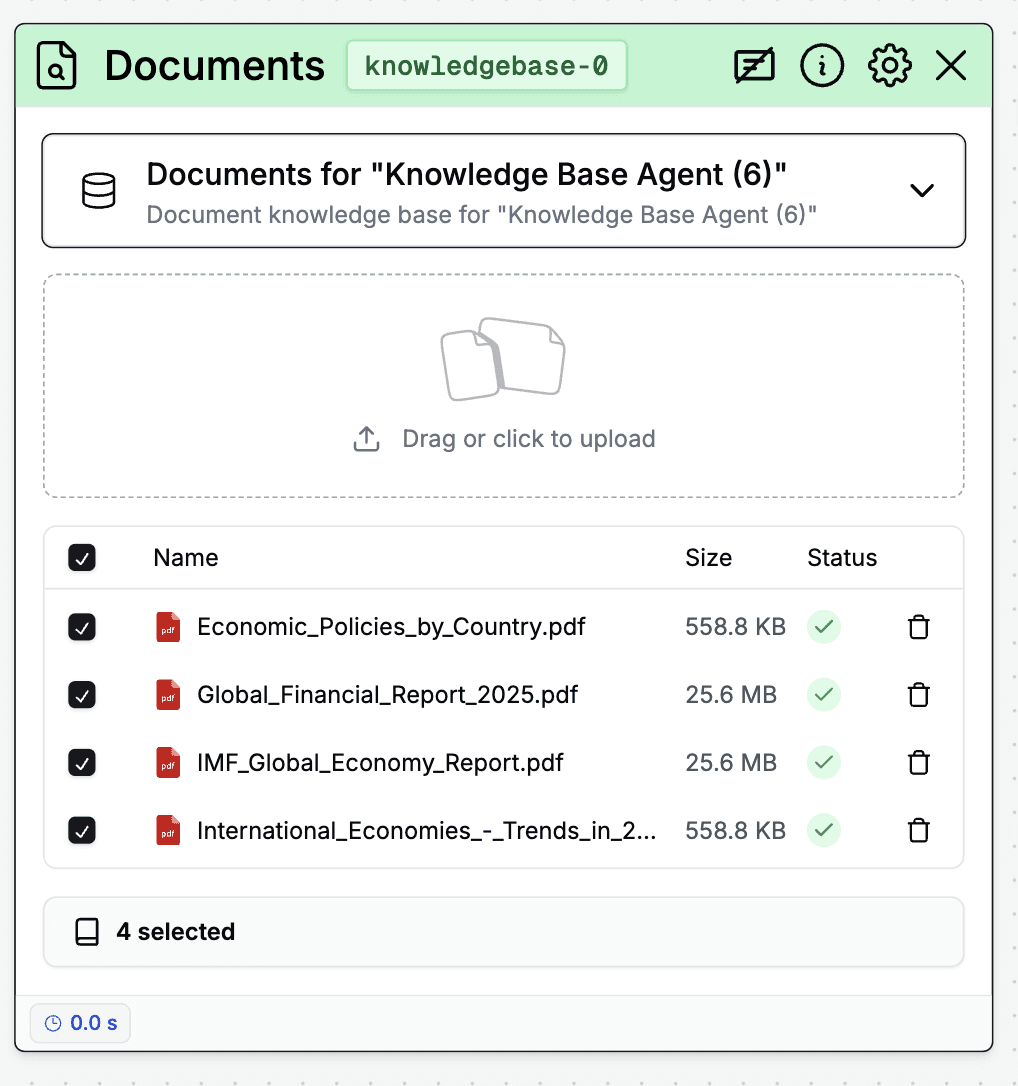
Documents (Knowledge Base: knowledgebase-0) - This node allows you to upload a list of documents and search them.
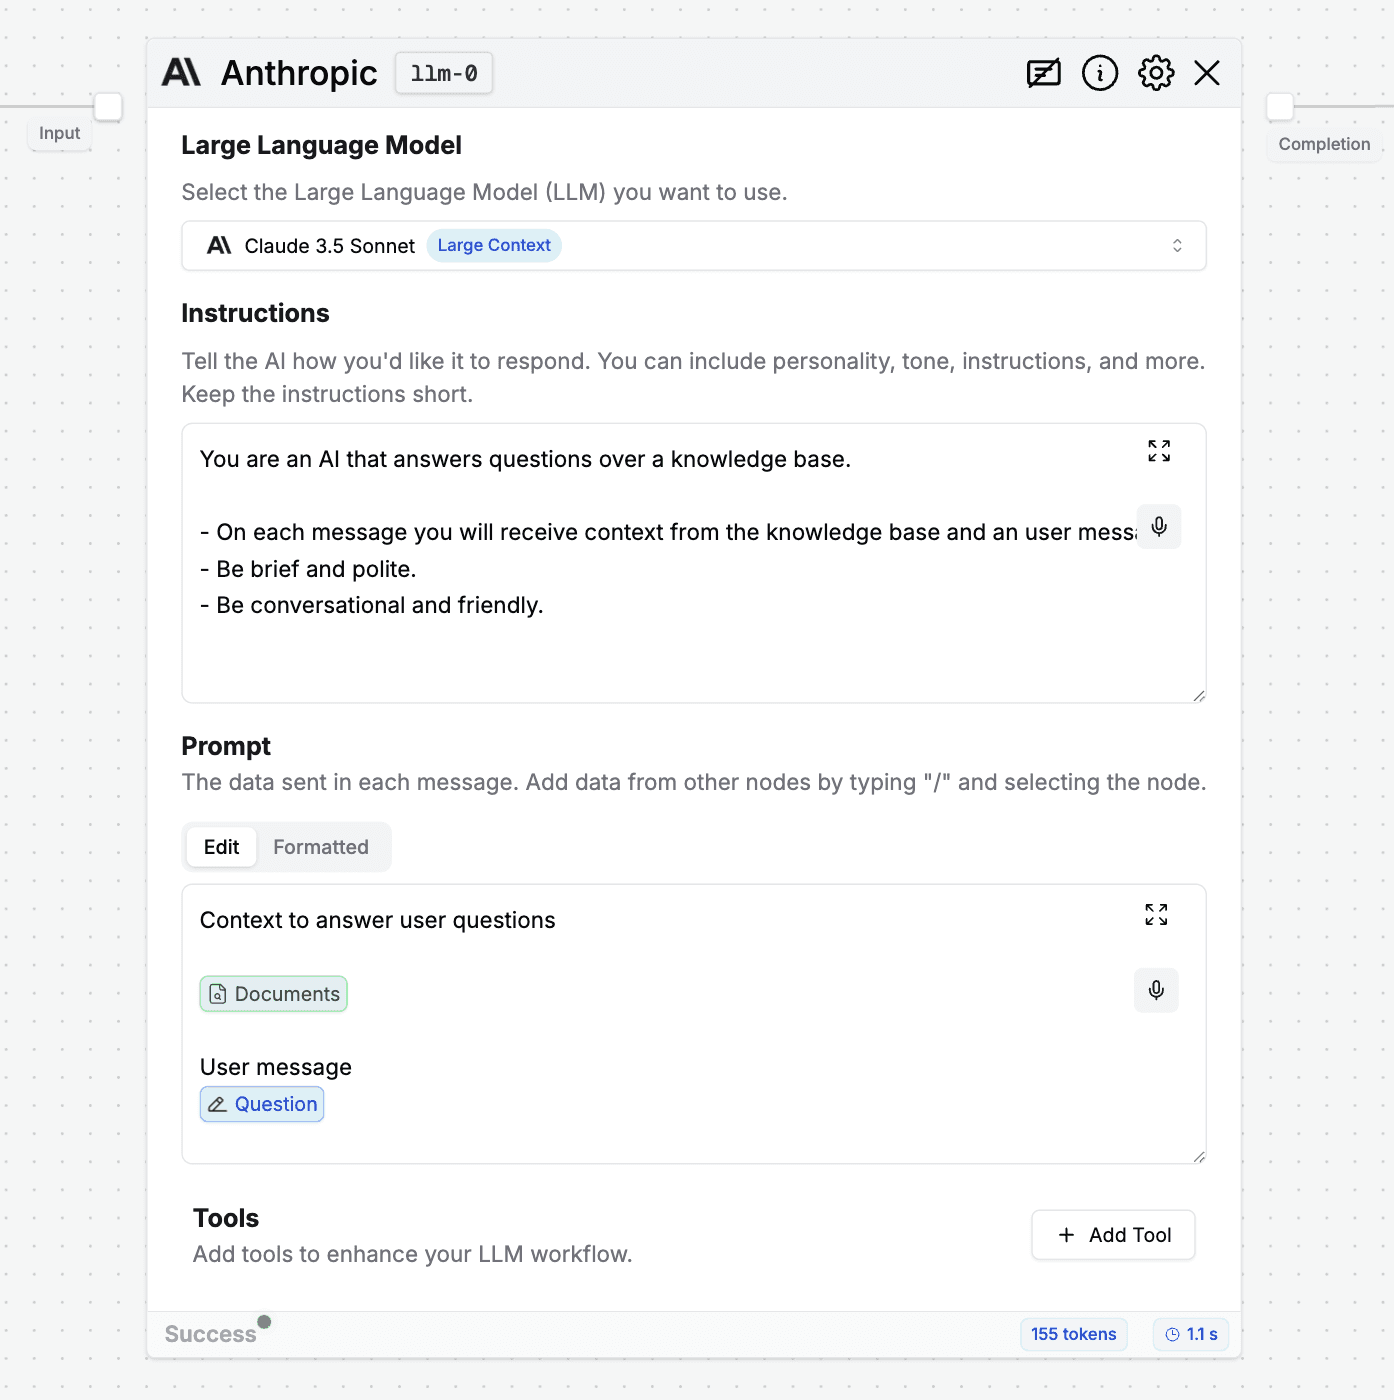
Anthropic: Claude Sonnet 3.5 (LLM: llm-0) - Claude 3.5 Sonnet answers the question based on the Knowledge Base documents.
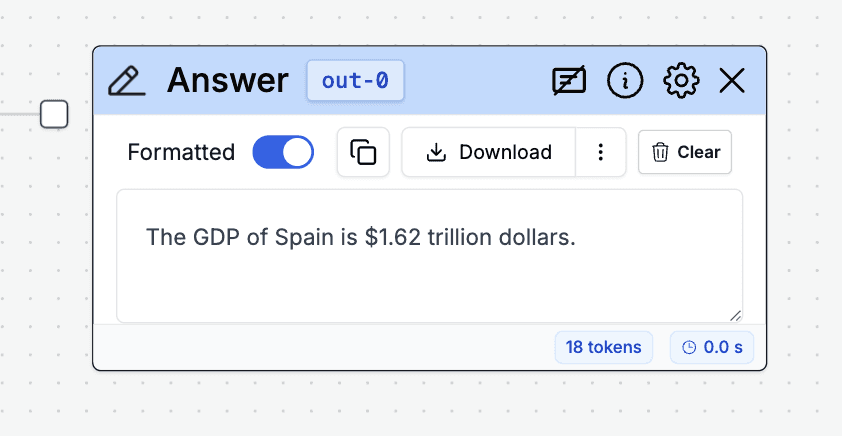
Answer (Output: out-0) - This outputs the LLM’s answer to the question.
Click Run in the top right corner to run the workflow for testing.
Save the workflow and Publish it for usage.
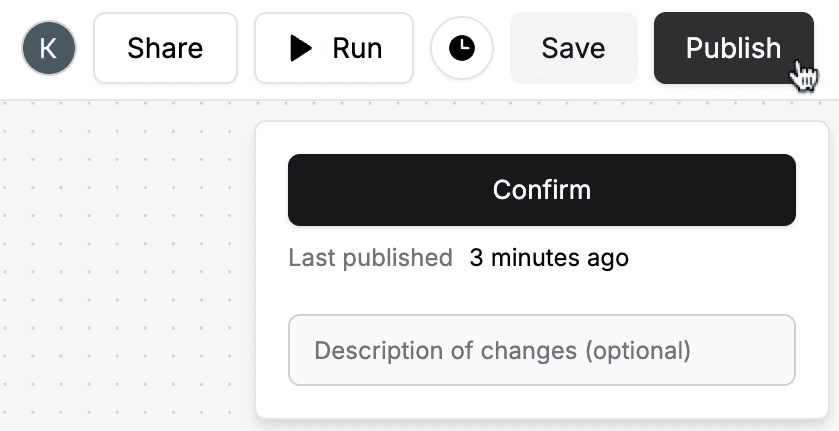
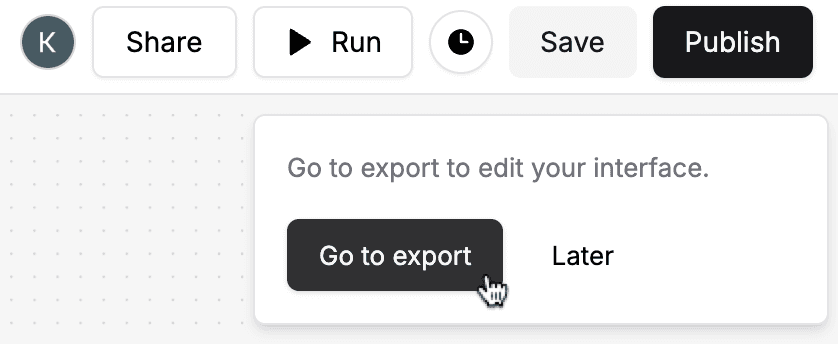
Once you Publish the workflow, click Go to export to enter the Export tab.
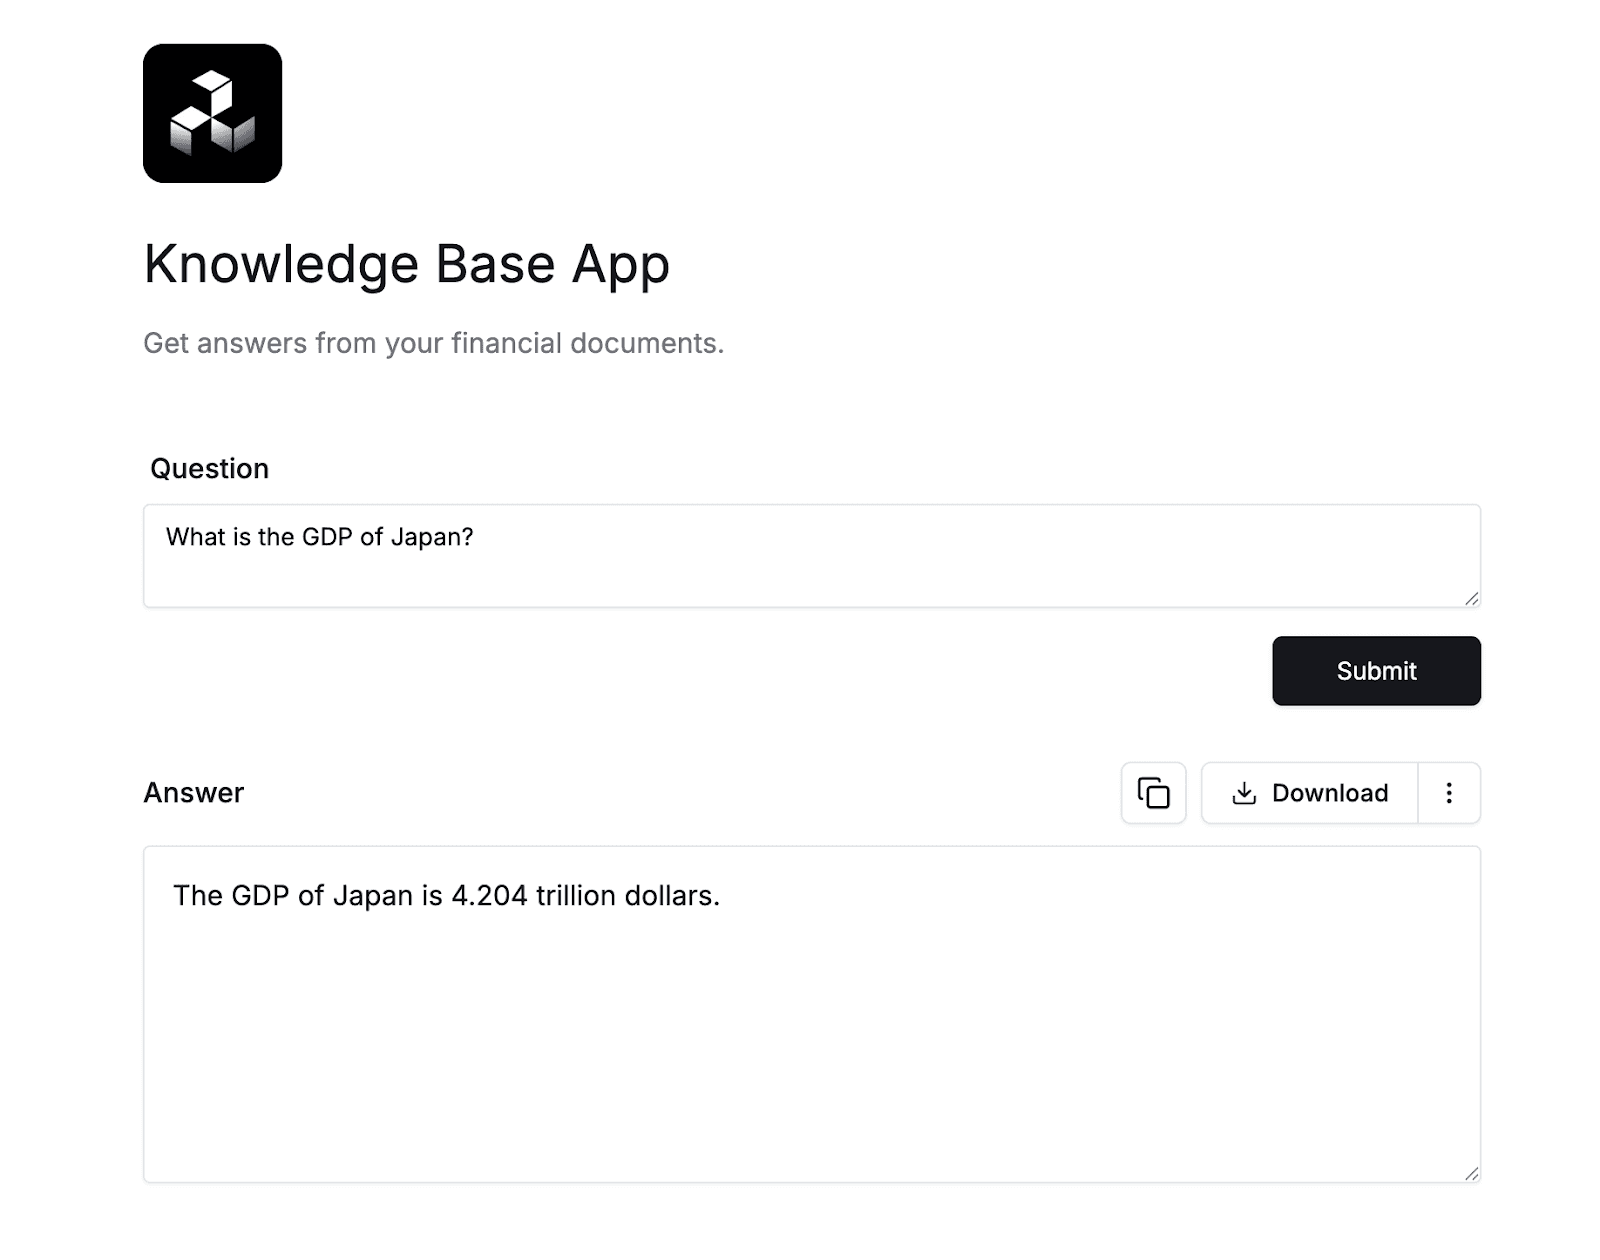
Export Your AI Agent
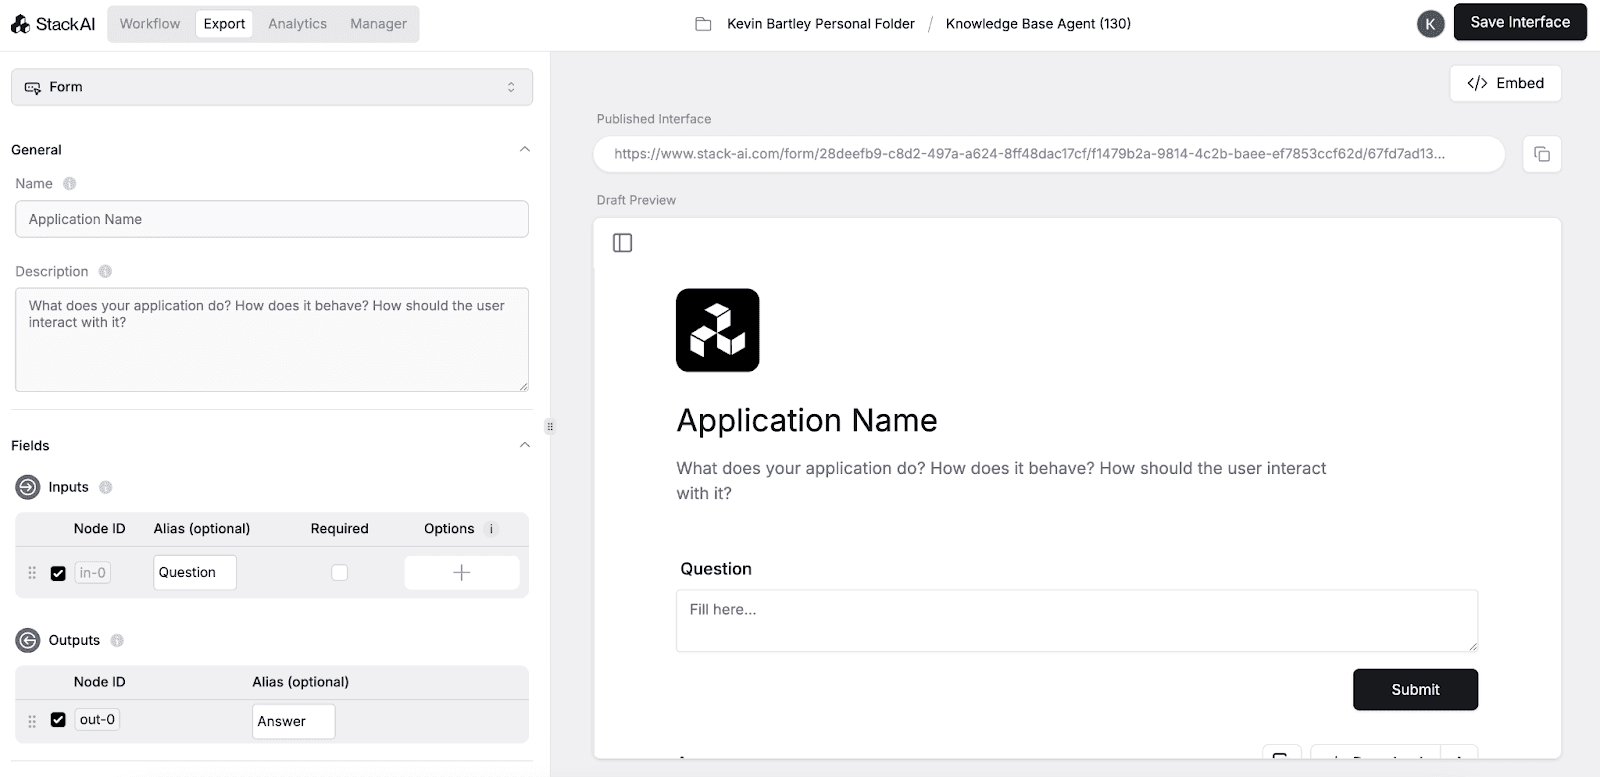
Let’s take a look at the Export section.
The Export tab allows you to customize the UI of your AI agent, and share it across your organization. This empowers you to customize how your team will interact with your Knowledge Base Agent.
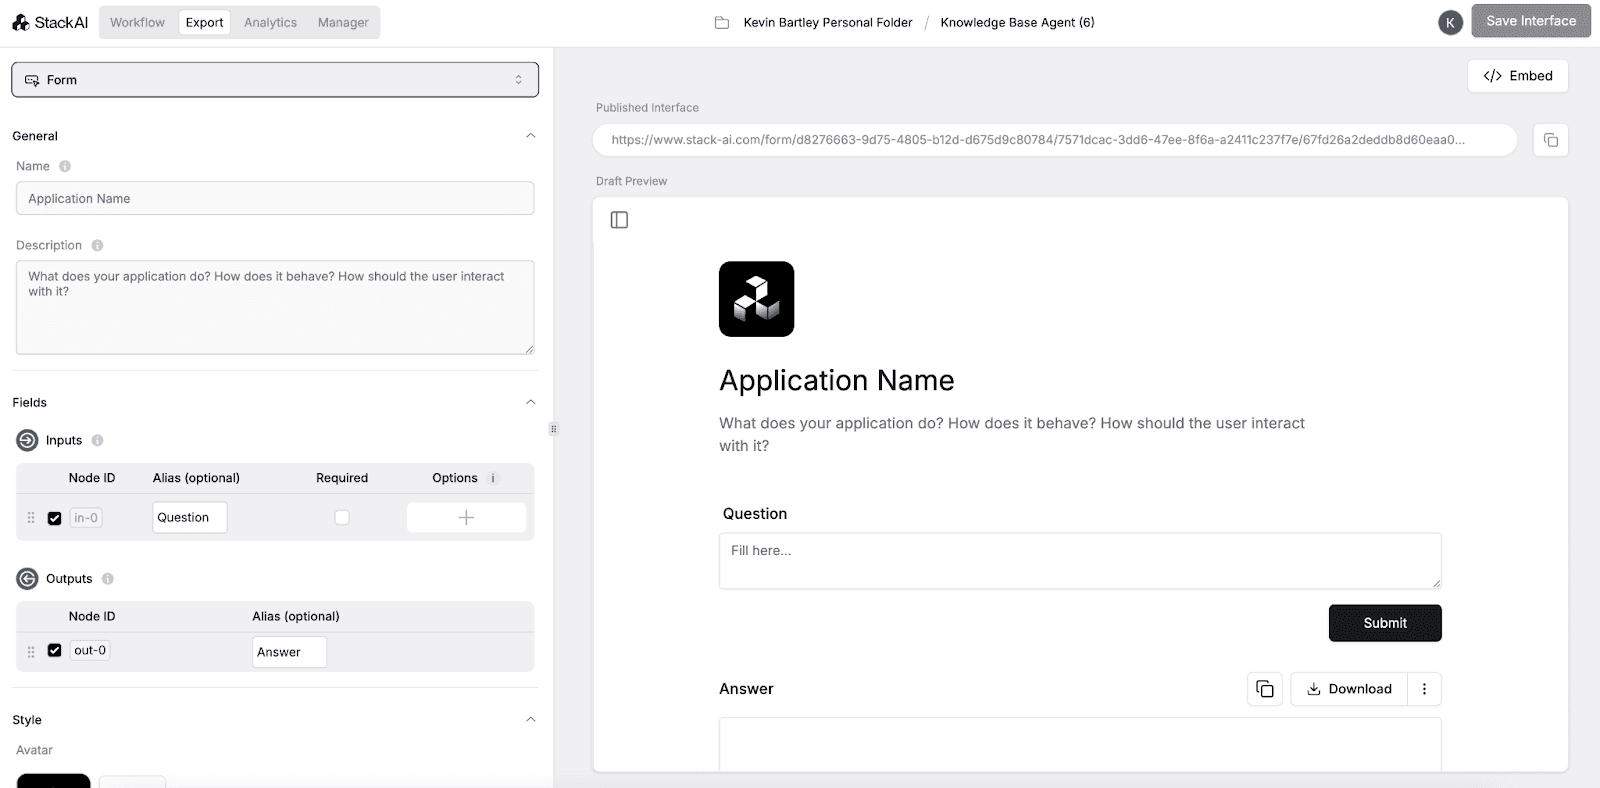
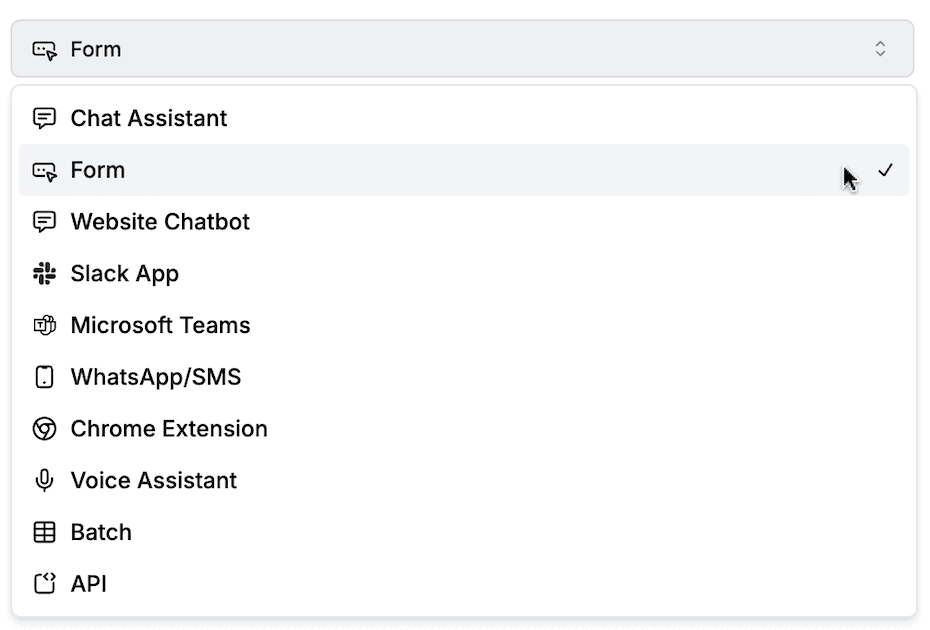
You can choose the type of UI your AI agent uses from this dropdown menu.
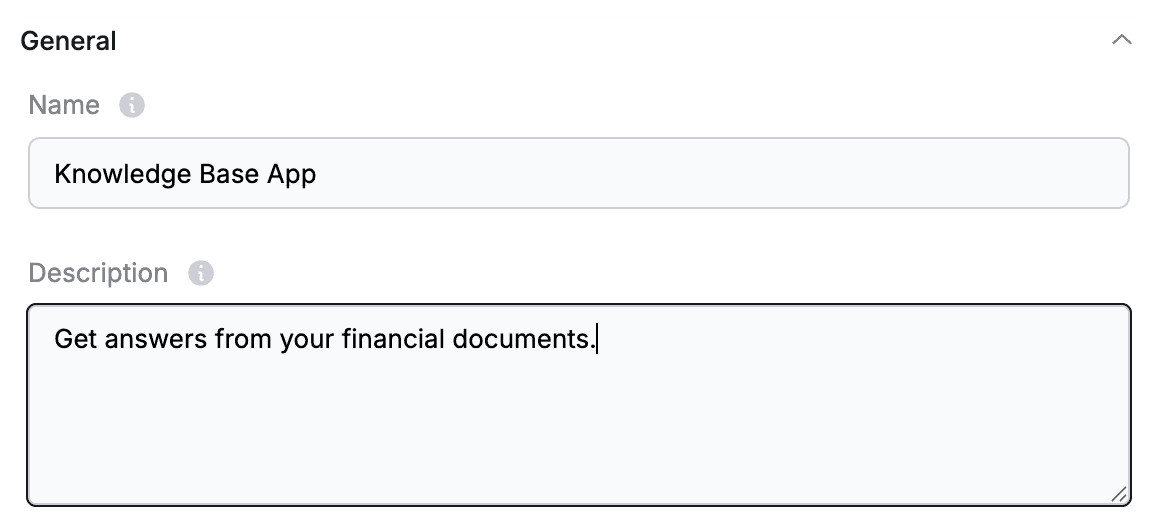
You can name and create a description for your AI agent as well.
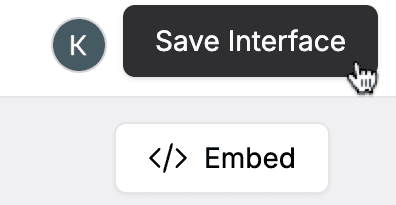
When you’re done customizing your AI agent, click Save Interface.
After you save the interface, click on the link to access the web application.
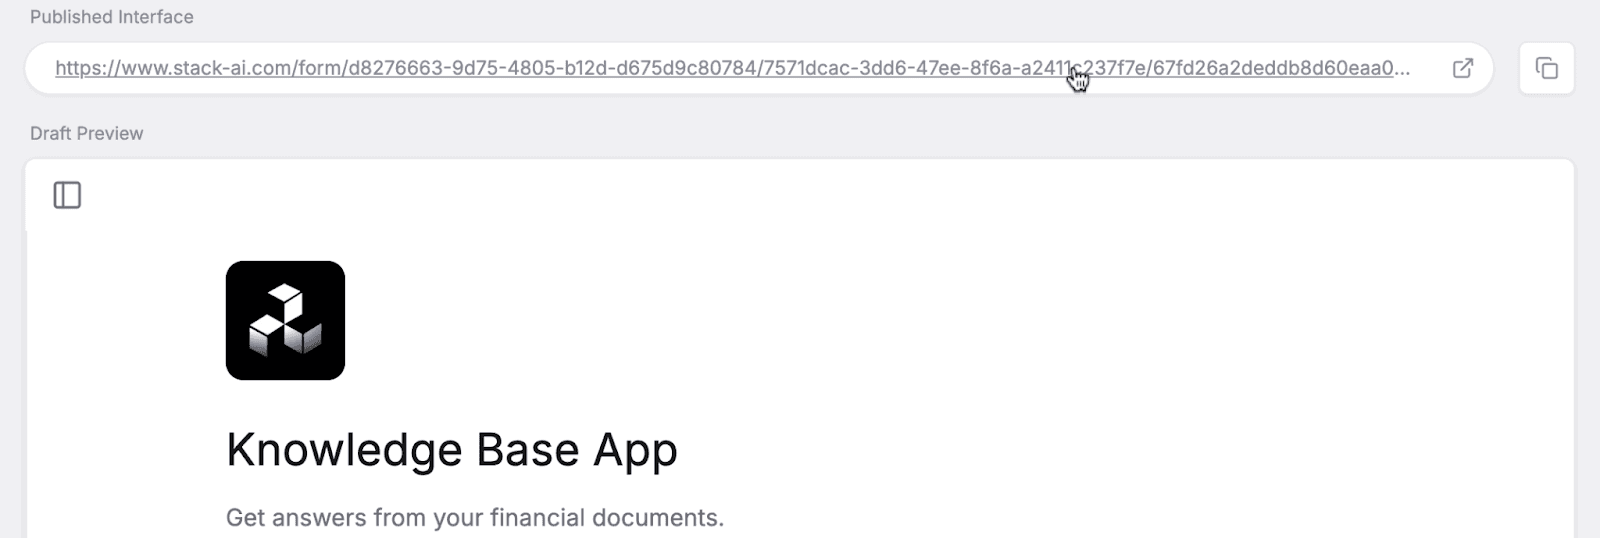
Now you can run your AI agent directly from your browser, and share it across your team.
Analytics & Manager Functions
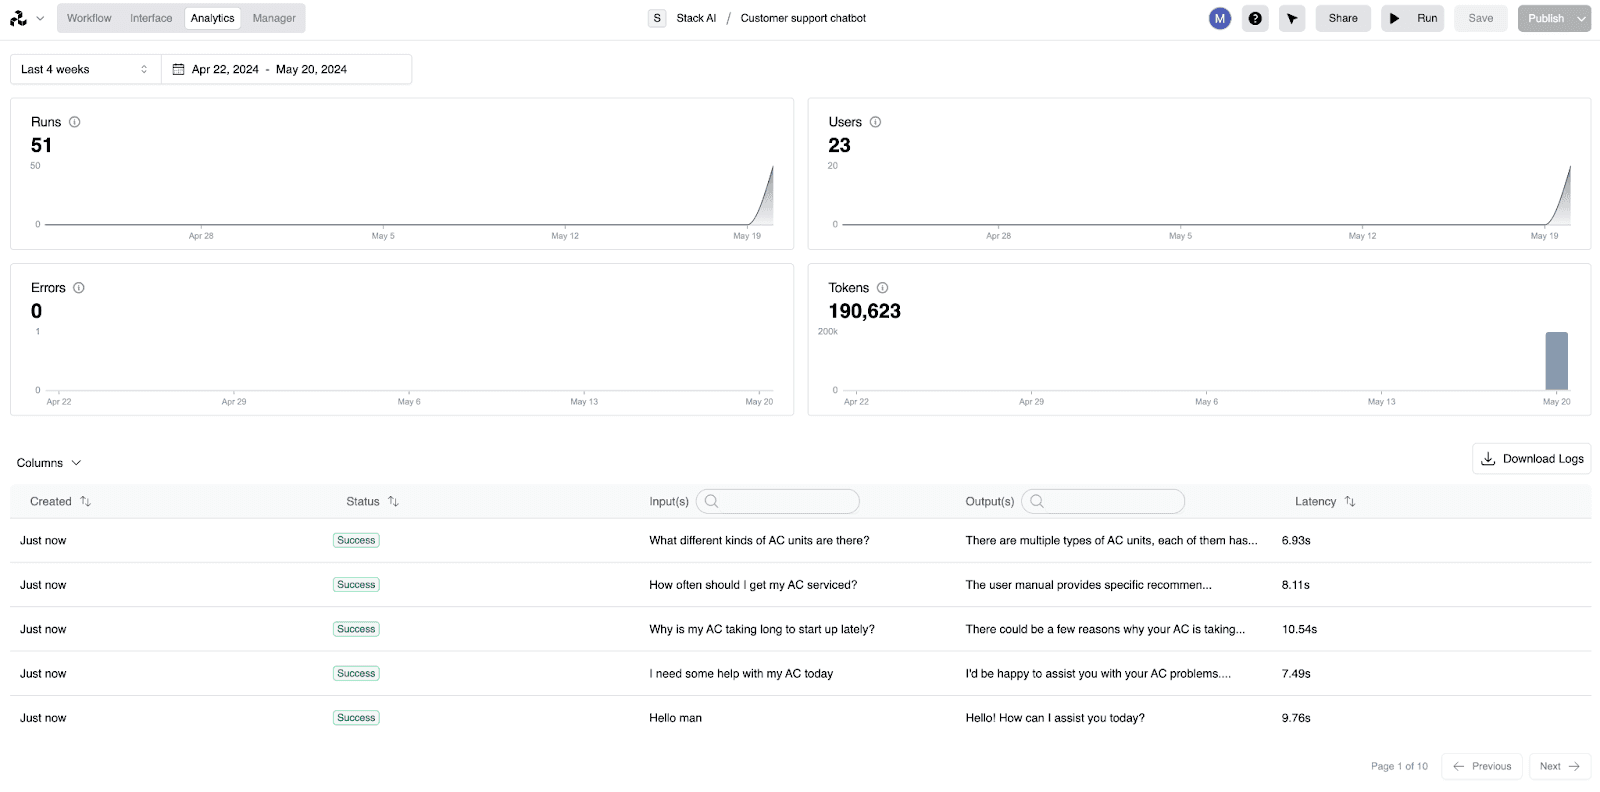
There are two more sections of the workflow builder: Analytics and Manager. Let’s start with Analytics.
This section keeps track of your AI agent’s analytics, including runs, users, tokens used, and other critical metrics.
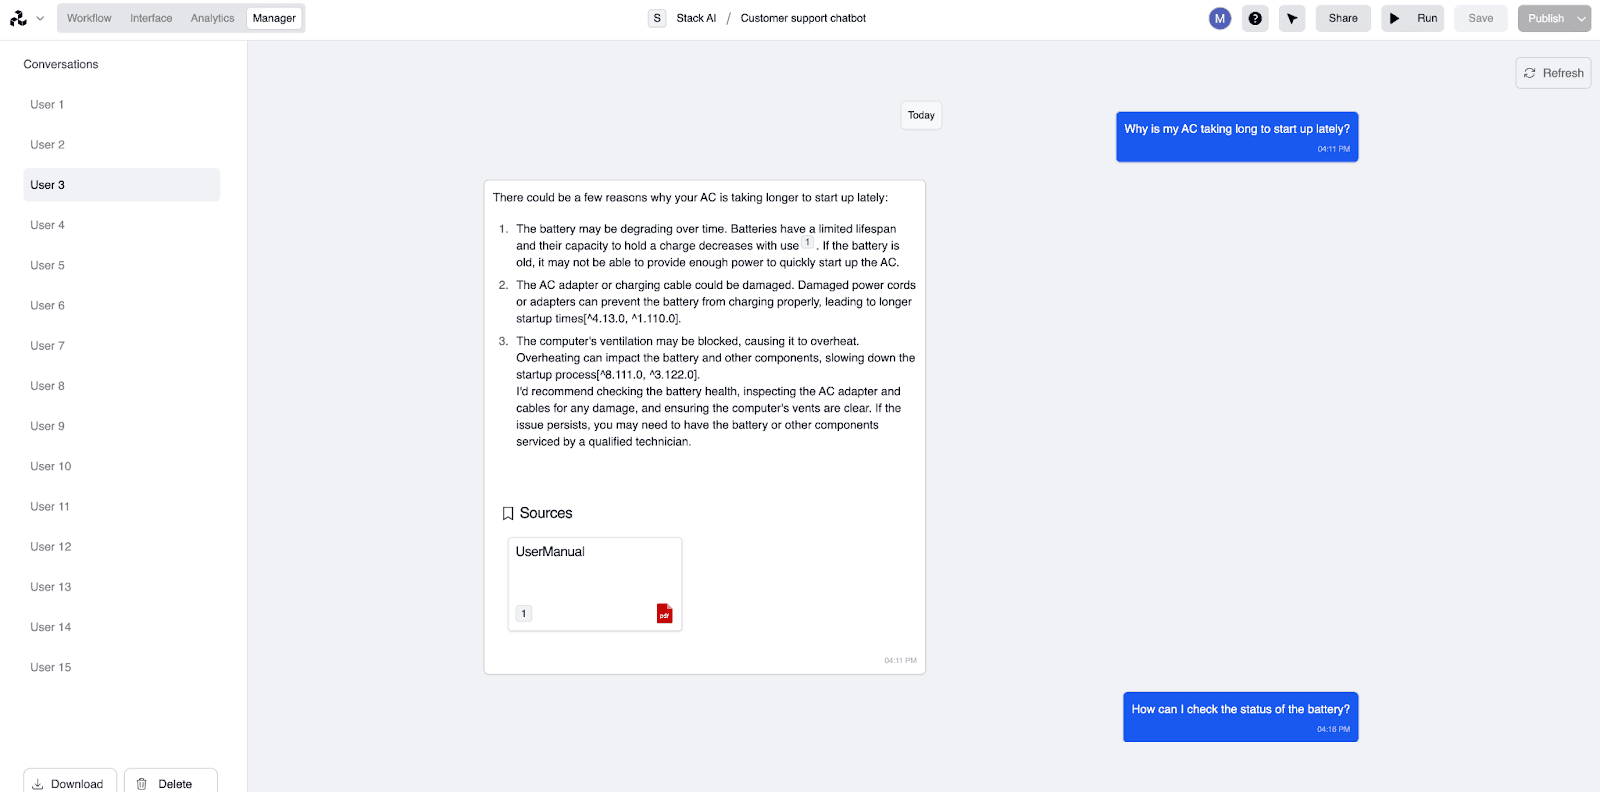
The final section of the Workflow Builder is the Manager function.
The Manager function allows you to control the different users and conversations associated with the AI agent, so you can maximize your team’s usage.
Knowledge Bases, Connections, Project Analytics, Settings
Return to your main dashboard, and you’ll see the Knowledge Base Agent among your projects.
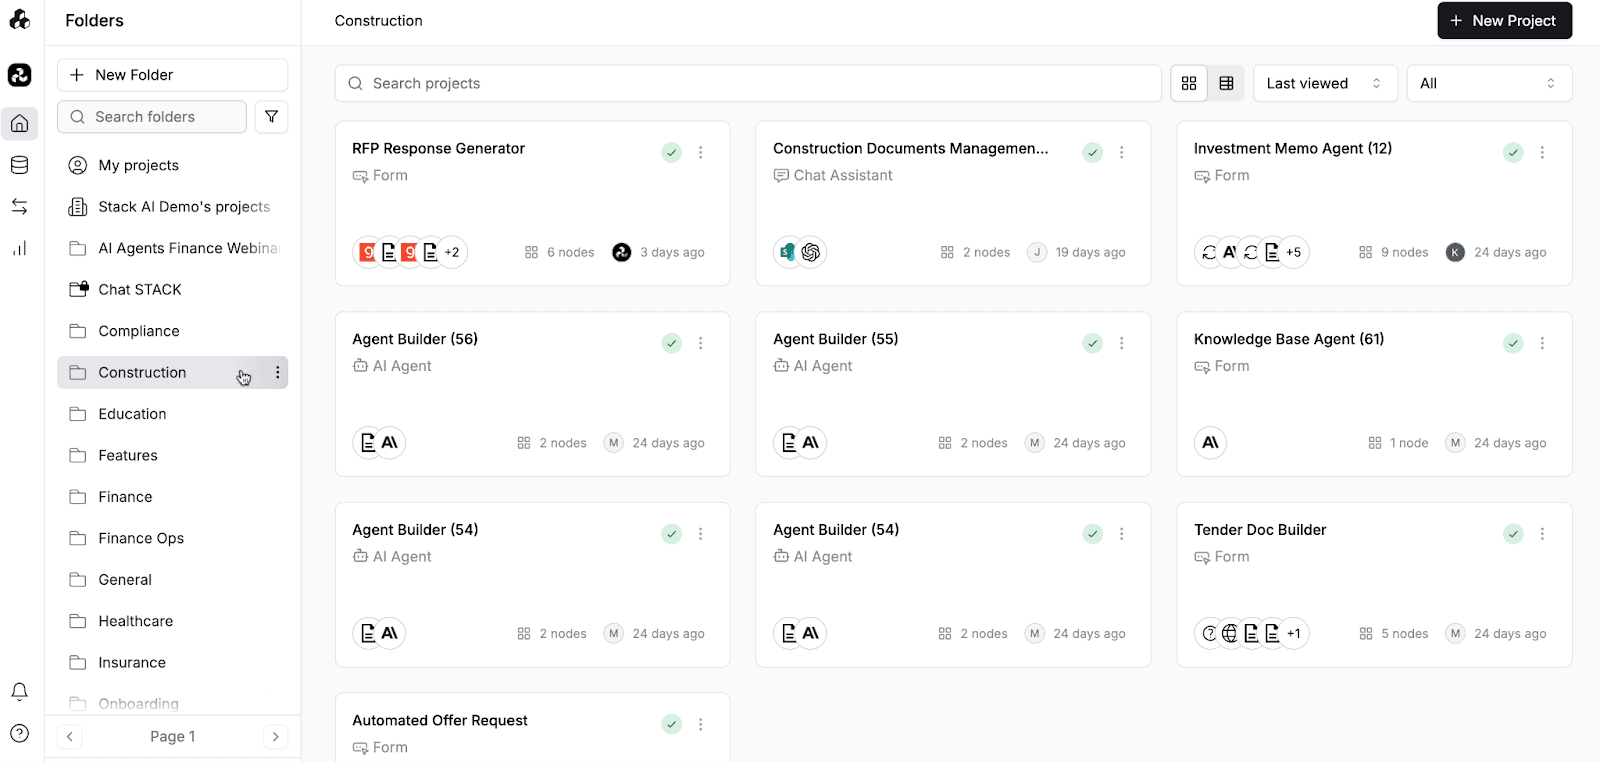
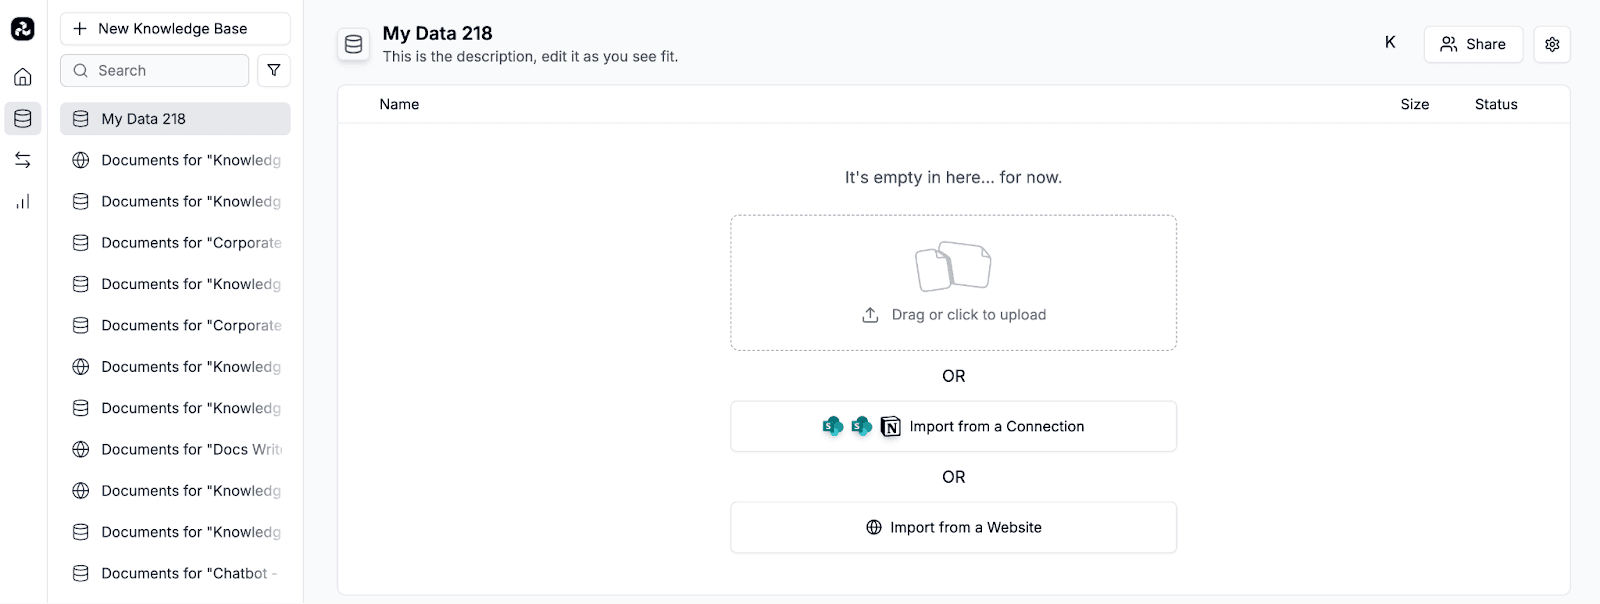
Let’s take a look at the remaining sections, start with Knowledge Bases.

In this section, you can create Knowledge Bases that you can save and access across all of your projects.
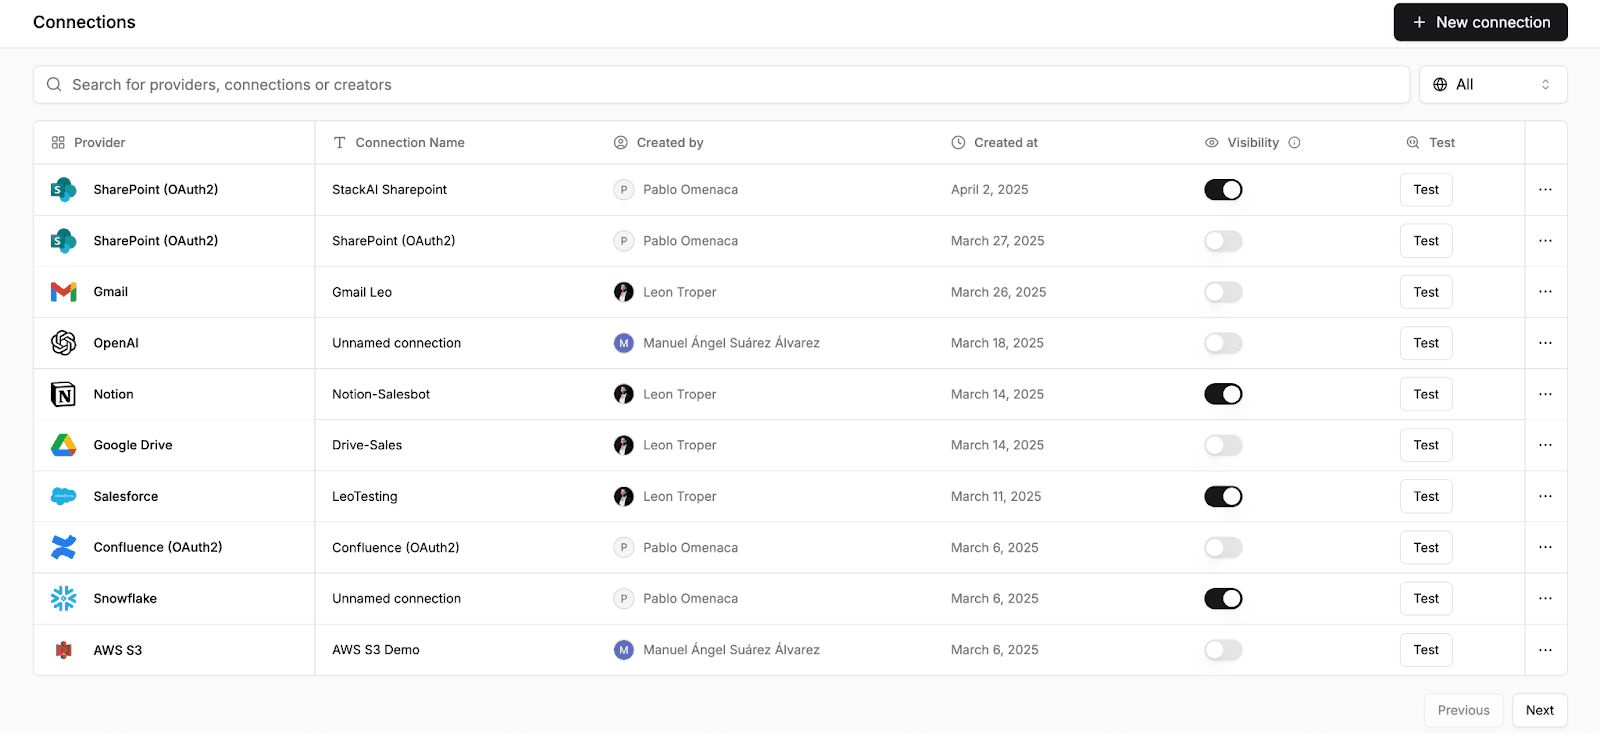
Let’s examine the Connections sections.
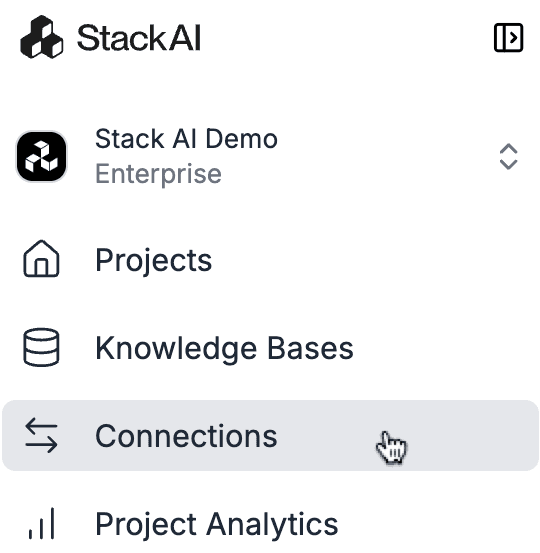
The Connections section allows you to create connections to applications and data sources that you can access across projects.
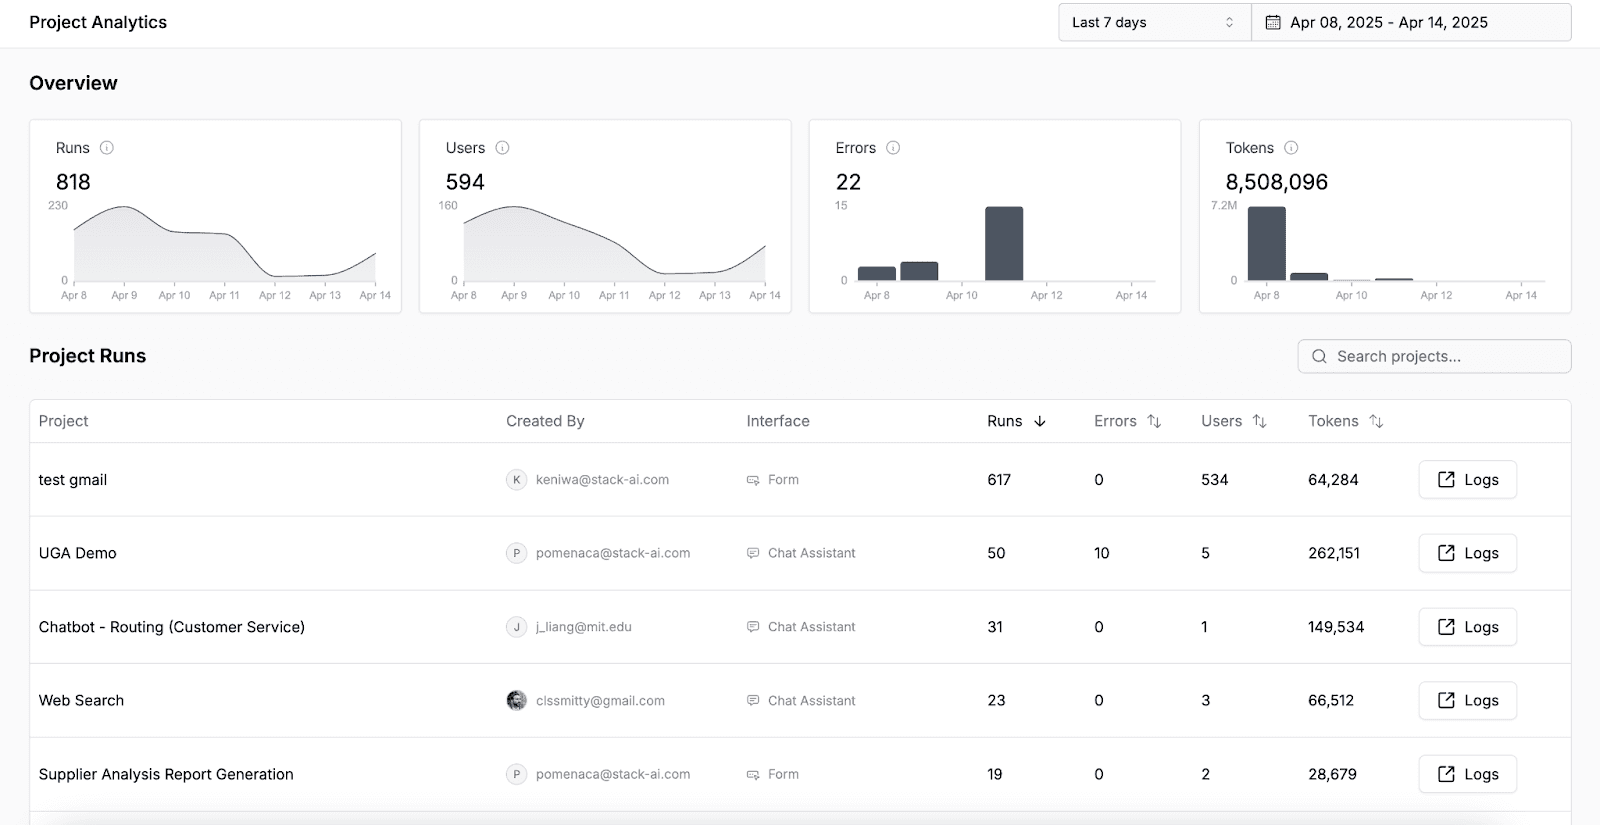
Let’s consider the Project Analytics section.
This will show you analytics across all of your projects, rather than for individual projects.
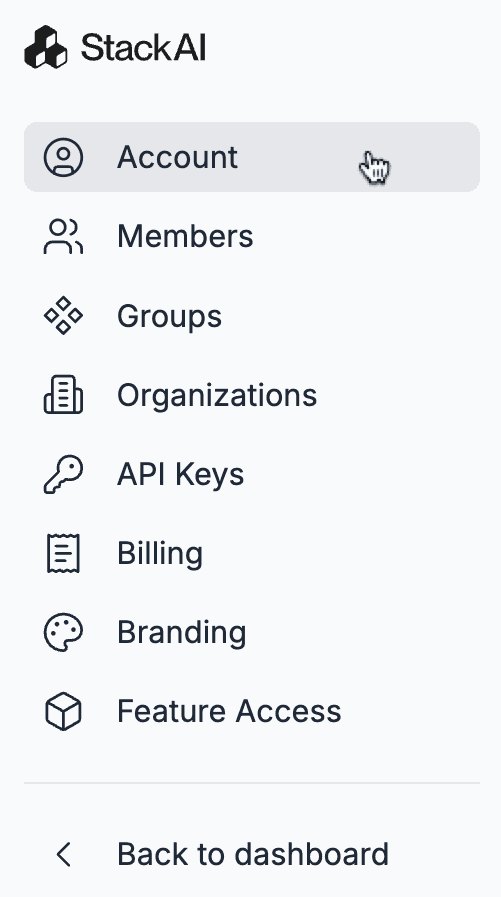
Finally, view the Settings section.
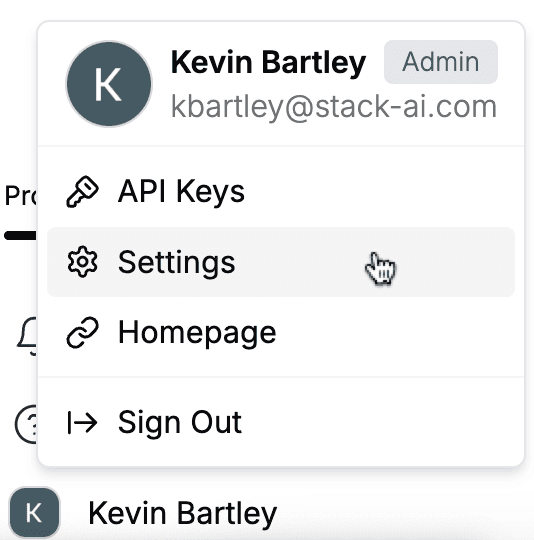
In the Settings section, you can set the permissions and capabilities of you and your team members.
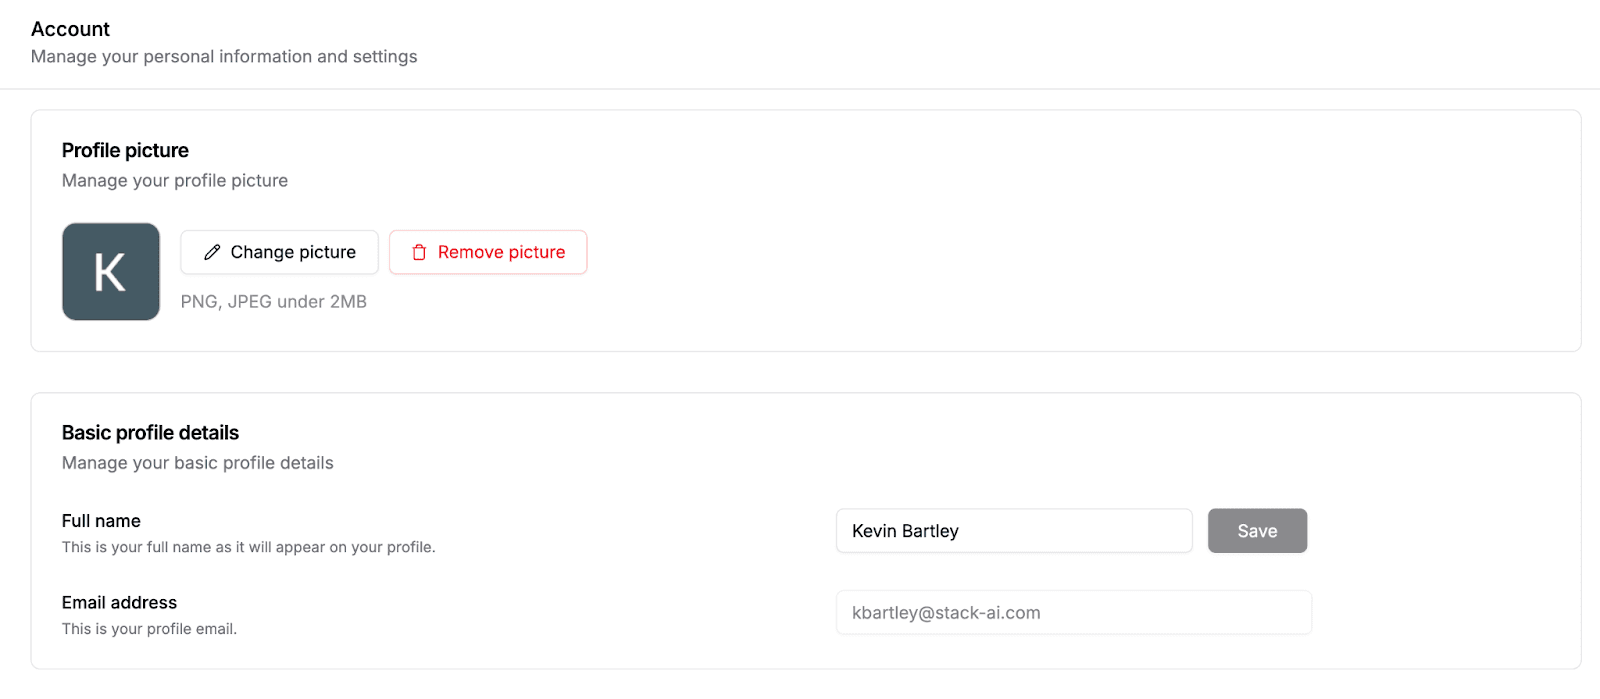
The lefthand sidebar allows you to control a number of different aspects, including personal accounts, team accounts, and organizational accounts.
Join Us for More Stack AI Academy Courses!
Thanks for going through this Platform Overview—our 1st course in Stack AI Academy! We’ll have more Stack AI courses available soon.
Make your organization smarter with AI.
Deploy custom AI Assistants, Chatbots, and Workflow Automations to make your company 10x more efficient.
Articles


